Byte Hopper
Arcade Action Game with Procedural Generation

Background
This has become one of my favorite projects so far.
Initially, I set out to create a simple Crossy Road clone to learn from an iconic arcade-style game.
However, I realized that there was an opportunity to expand beyond the original concept
and try to develop the project with unique features and gameplay elements.
Instead of copying similar games bit by bit, I wanted to try my own spin. That being a motherboard and microchip theme.
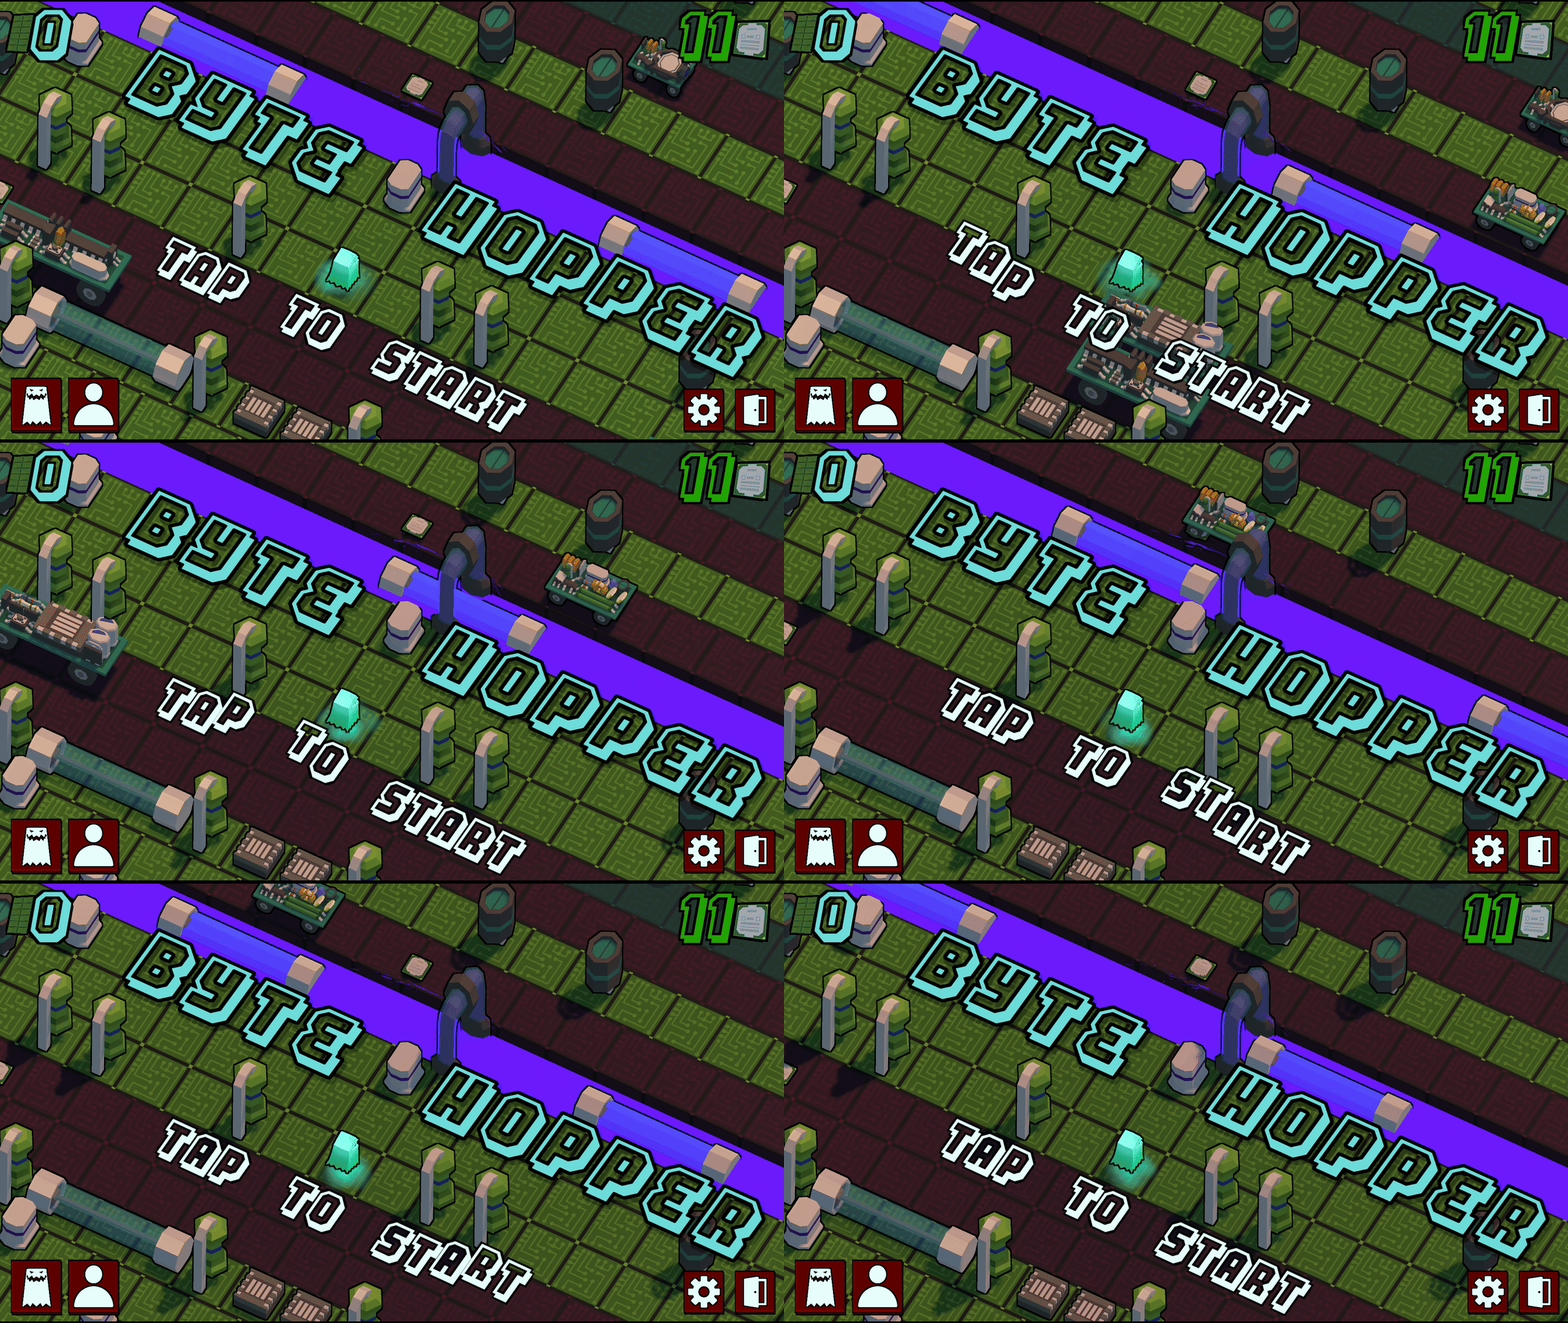
The main player is a ghost-like virus hopping through a board. They have two objectives, eat up as many CPUs as
they can and travel as far as they can.
Byte Hopper became a personal challenge to push my creative limits in game design and programming,
transforming it into an engaging, procedurally-generated arcade action game.

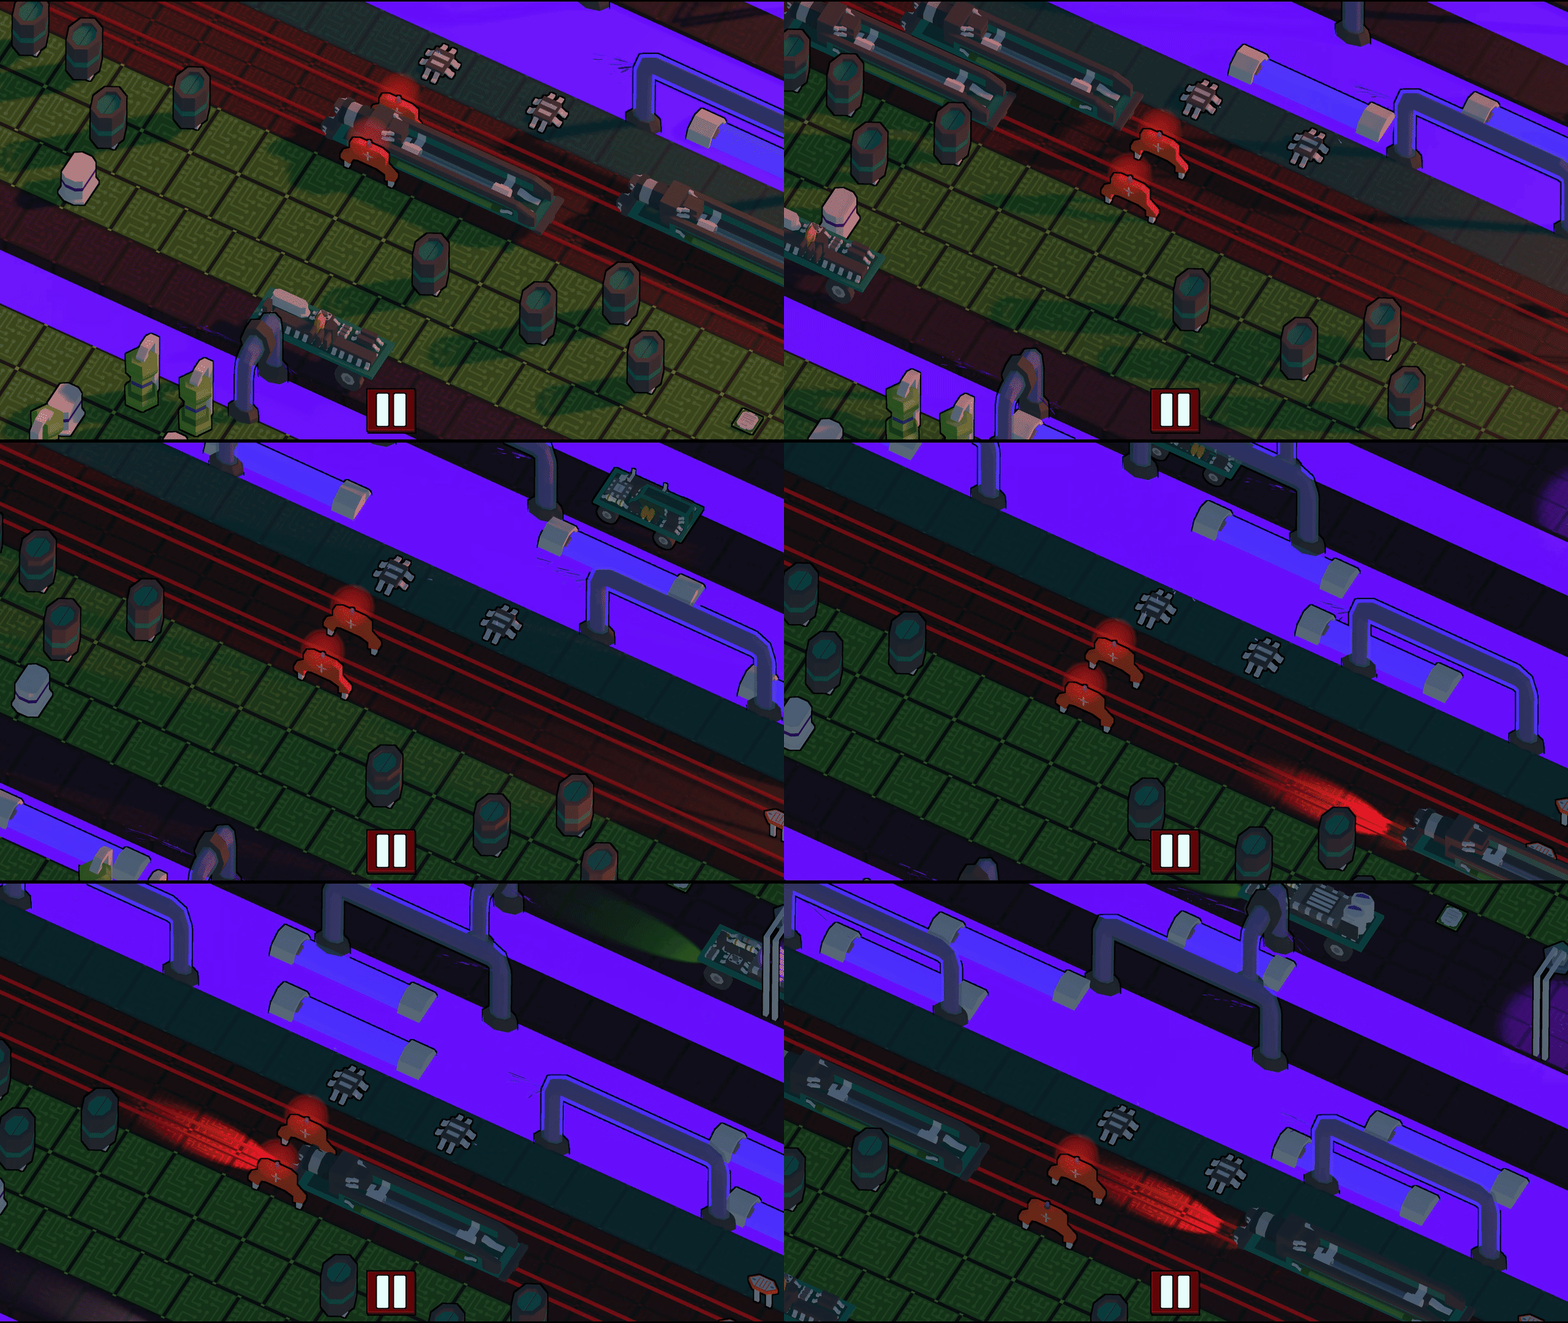
The game features a dynamically generated map with eight different area types,
a day-and-night cycle to increase difficulty,
and a skin shop incentivized by in-game currency collection.
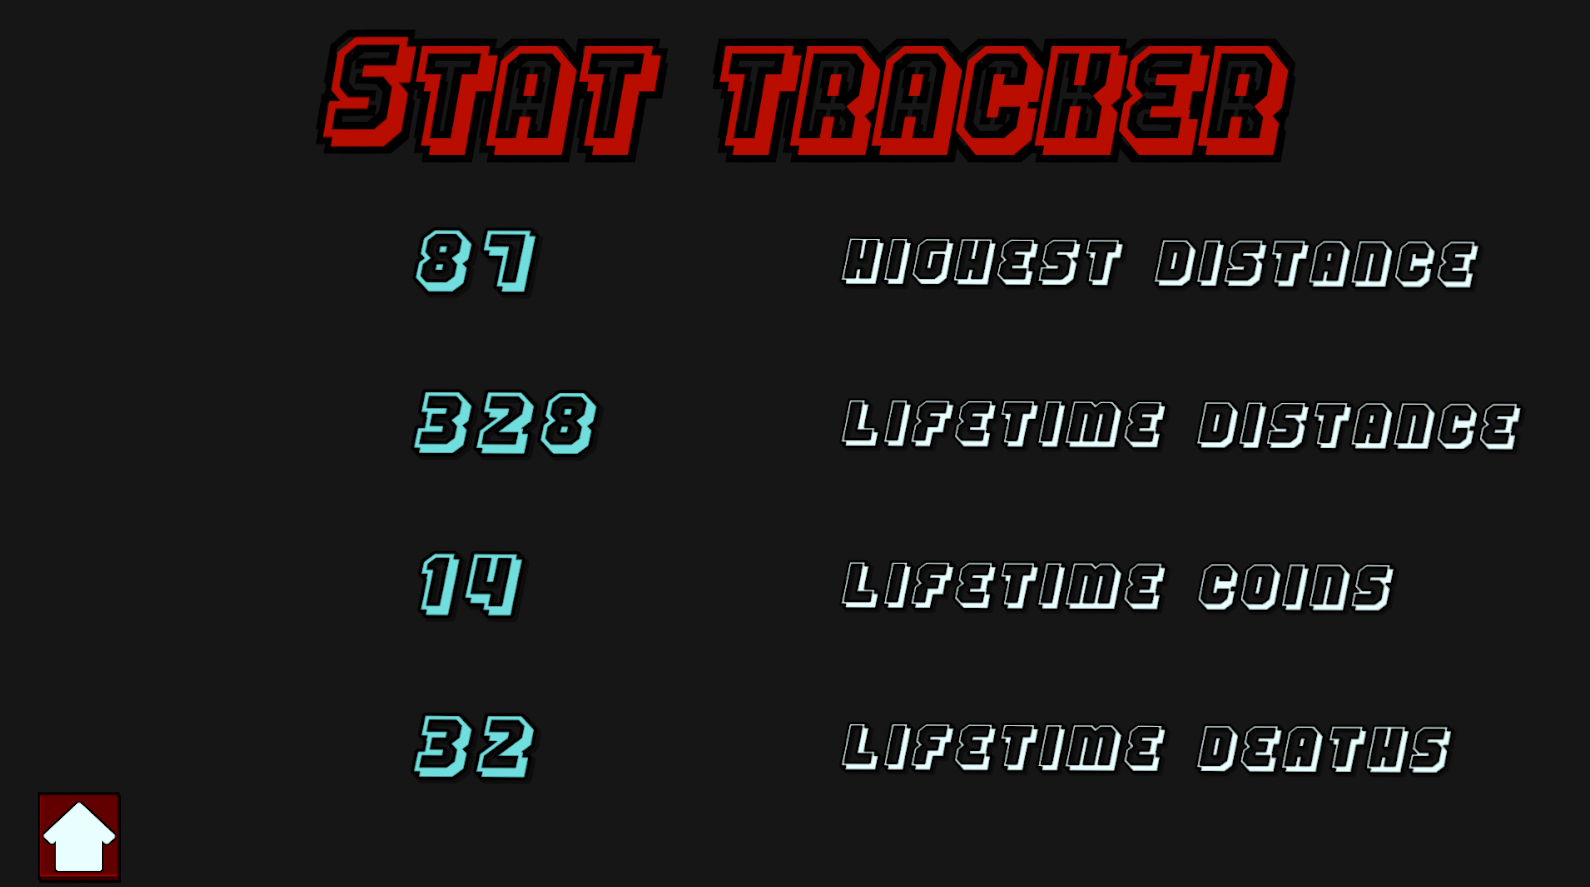
Additionally, players can track their progress with detailed performance stats,
including highest distances, lifetime deaths, and more.
Technologies Used
What I Learned
Procedural Generation
One of the most significant aspects of Byte Hopper was implementing procedural generation.
When I started building the system, I thought, "This needs to be done algorithmically rather than manually."
Turns out, it’s not as simple as randomly throwing objects into a scene.
I had to balance randomness with structure to create a satisfying player experience.
By using Unity prefabs, I learned how to spawn objects like logs or cars between two points of that prefab.
Then, applying rules that ensure gameplay remains fair and engaging.
I've learned that procedural generation is not just about randomness—it also means creating systems
that feel alive and fair while remaining efficient under the hood.
This approach gave players a sense of randomness but also familiarity,
as they could learn and anticipate challenges from the eight distinct prefabs.
Prefabs are color coded to represent different areas and most have two variations to help the player distinguish between them.

Performance Optimization
Procedural generation didn’t just end with spawning objects.
I delved into performance optimization techniques to make the infinite map viable.
Culling played an important role in making sure inactive objects were
removed to conserve resources while dynamically spawning new objects as players progressed.
Though I haven’t yet implemented object pooling, this project introduced me to the concept,
and it’s a technique I plan to explore further in future updates.
In game development, it’s easy to get caught up in the technical
details—like crafting perfect algorithms or refining mechanics—while overlooking the elements that keep players
immersed and engaged. When developers focus on performance, they tend to focus too much on making the game run.
But really it’s about ensuring the experience feels seamless yet alive.
During Byte Hopper’s development, I faced challenges in balancing
smooth gameplay with the numerous on-screen objects and interactions.
Early on, the gameplay suffered from stuttering due to too many active elements.
By leveraging techniques like raycasting for precise collision detection,
I optimized interactions such as hitting cars or colliding with resistors.

Through memory management strategies like
culling—removing unnecessary elements while keeping the essentials—I created a dynamic yet lightweight
system that could handle the procedural map’s demands.
These optimizations didn’t just improve performance;
they elevated the player experience, making the game feel responsive and engaging.
Player Saving
Implementing a player-saving system using Unity’s PlayerPrefs was another major learning point in Byte Hopper.
A big philosophy in game design is creating an experience that players want to come back to.
Initially, saving stats like distance traveled or lifetime deaths seemed straightforward,
but I quickly realized it has a significant impact in enhancing player experience.

Beyond stats, I also used PlayerPrefs to save settings like volume controls and in-game currency.
While PlayerPrefs is basic, it laid the foundation for understanding persistent data management,
opening the door to more advanced systems in future projects.
I've learned that even small features like saving player progress add significant value to a game.


